
Cisco SPA303/502G Setup
1. To enter the phone's web interface enter device's IP-address in URL bar.
To attain the phone's IP address, press the "Menu" button (Page) and select Network => CurrentIP
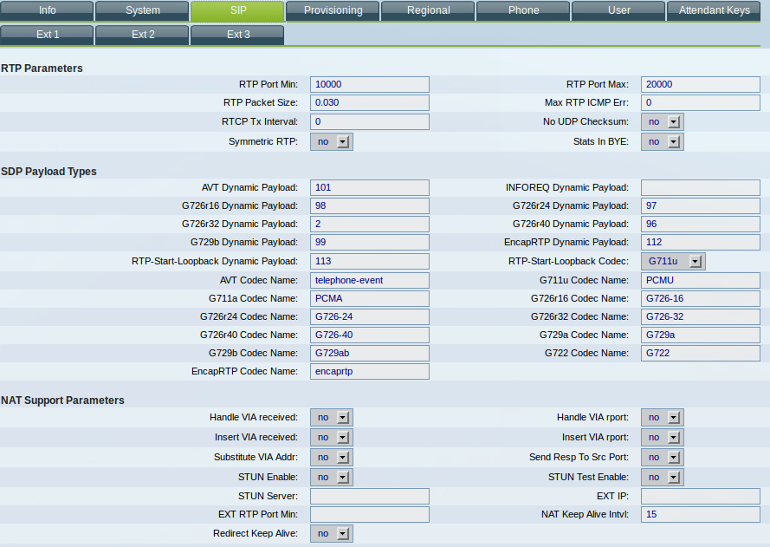
In right top corner of page change to mode Advanced
Open SIP and specify range of RTP ports.
RTP Port Min:10000
RTP Port Max:20000
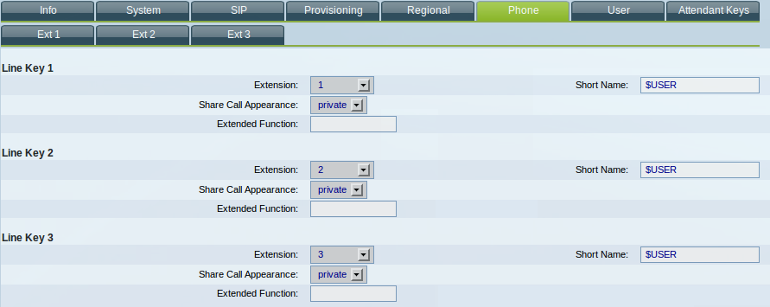
2. If you require the use of more than one line, it is necessary to set up a separate extension for of the phone's buttons.
3. Open Ext1 and enter the following data:
Subsription Expires: 300
NAT Mapping Enable: no
NAT Keep AliveEnable: yes
Proxy: voip.syd.spintel.net.au
Display Name: Your sip number (xxxxxx)
UserID: Your sip number (xxxxxx)
Password: Your sip password
Resident Online Number: Your sip number (xxxxxx)
Preferred Codec: G711a
Second Preferred Codec: G729a

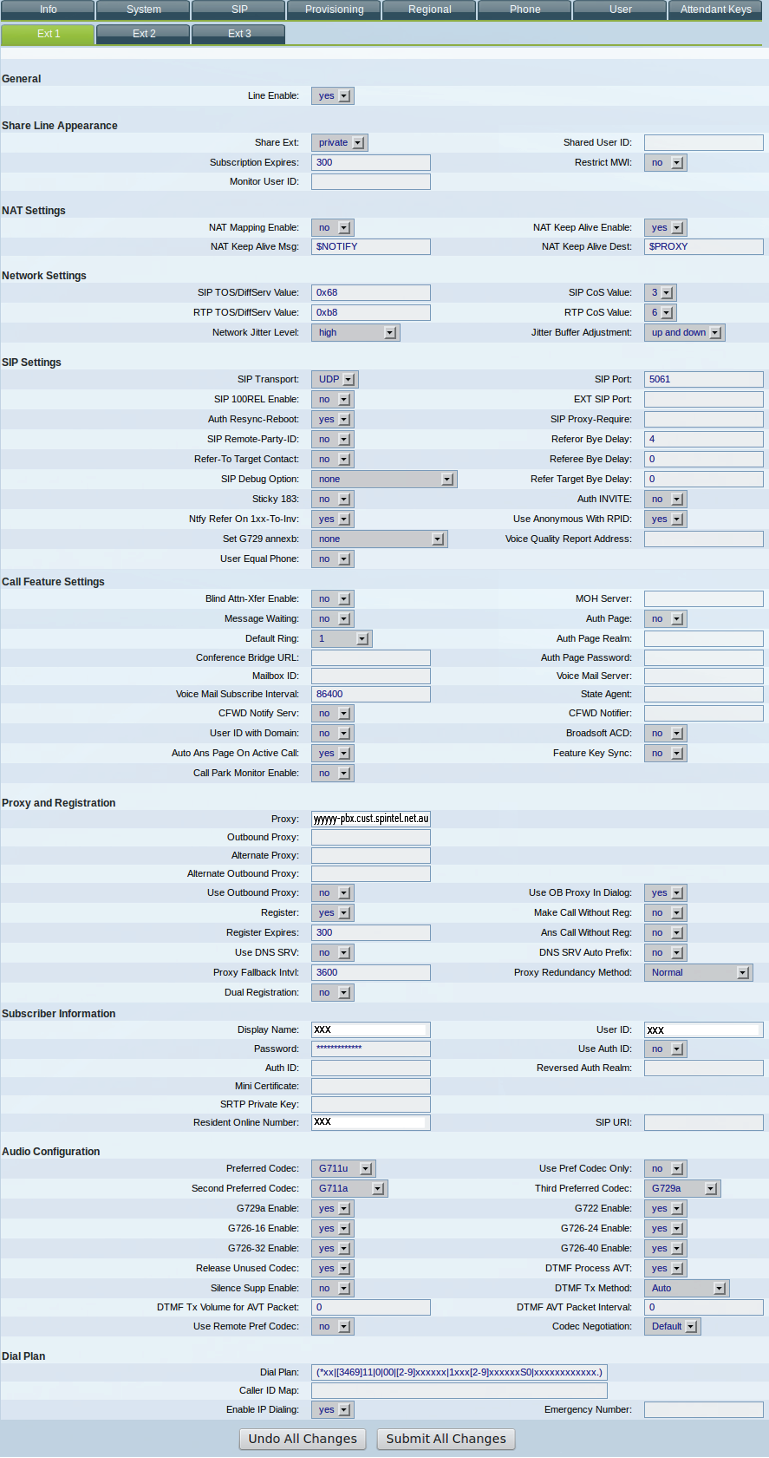
To save changes click on Submit All Changes