Setting up FreePBX 13
1. SRV Lookup should be enabled in the FreePBX:
Go to "Settings", "Asterisk SIP Settings", "Chan SIP Settings".

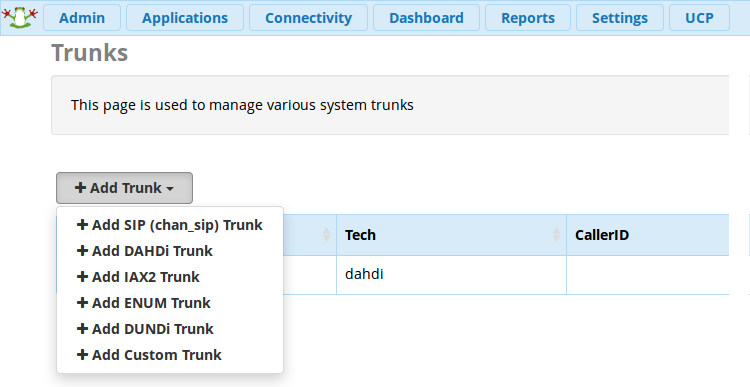
2. Go to "Connectivity" - "Trunks" and add a SIP trunk.
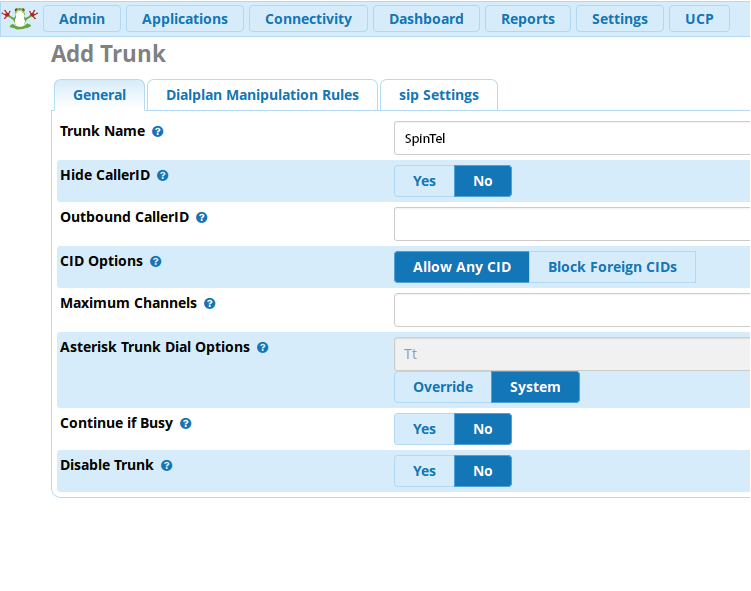
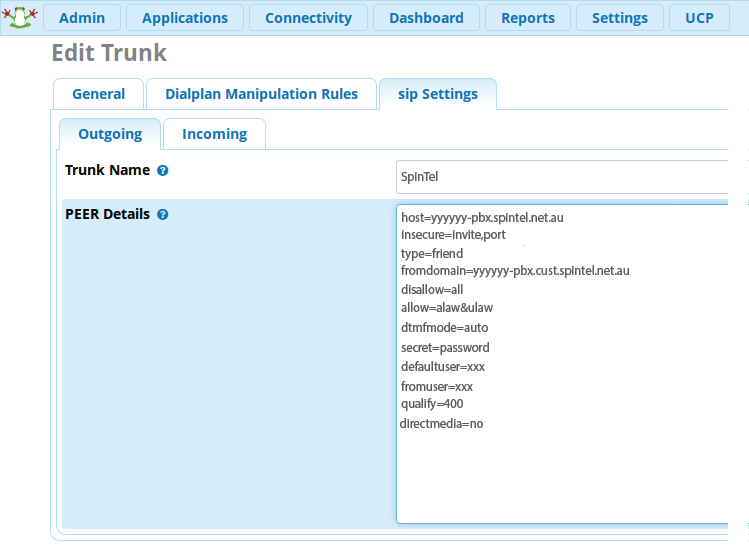
Specify the name of the trunk and go to the sip settings tab.
Enter the following information:
xxxxxx: Your sip number
Password: Your sip-number password
Trunk Name: Spintel
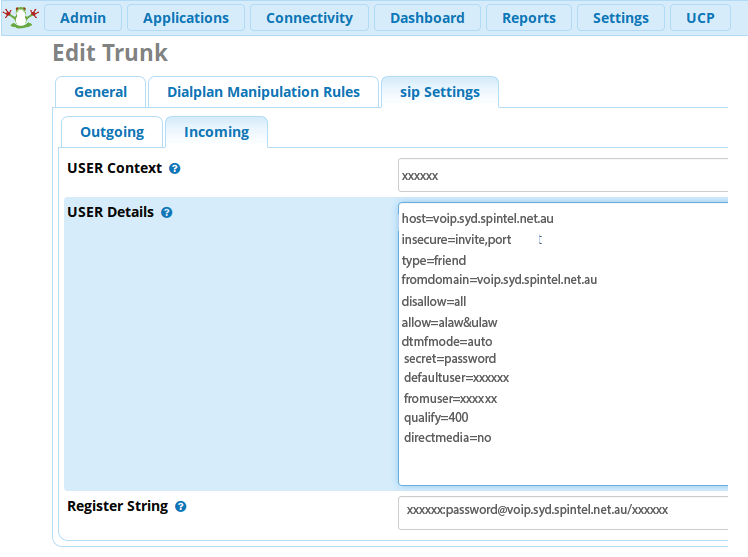
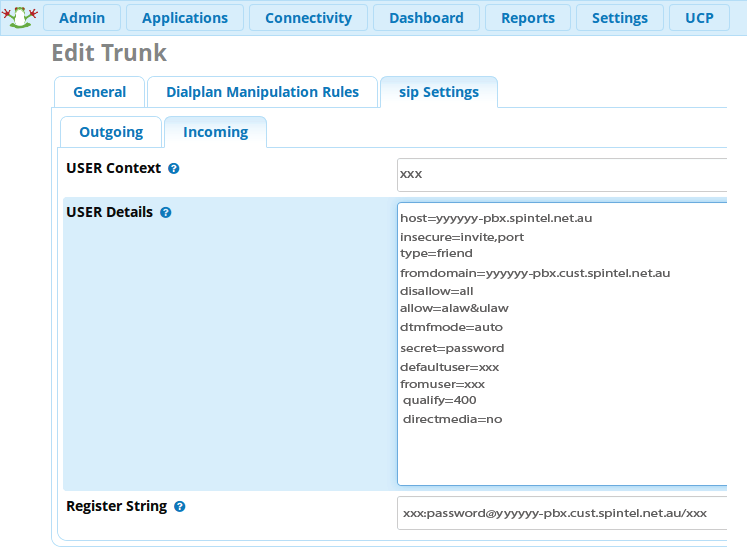
USER Context: Your sip number (xxxxxx)
Register String: xxxxxx:password@voip.syd.spintel.net.au/xxxxxx
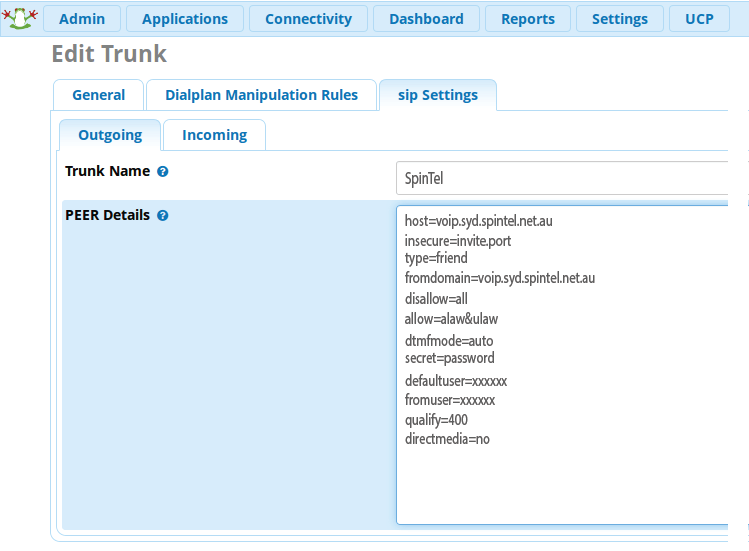
In PEER Details and USER Details enter the following data:
                            host=voip.syd.spintel.net.au
                            insecure=invite,port
                            type=friend
                            fromdomain=voip.syd.spintel.net.au
                            disallow=all
                            allow=alaw&ulaw
                            dtmfmode=auto
                            secret=password
                            defaultuser=xxxxxx
                            fromuser=xxxxxx
                            qualify=400
                            directmedia=no
                            nat=force_rport,comedia
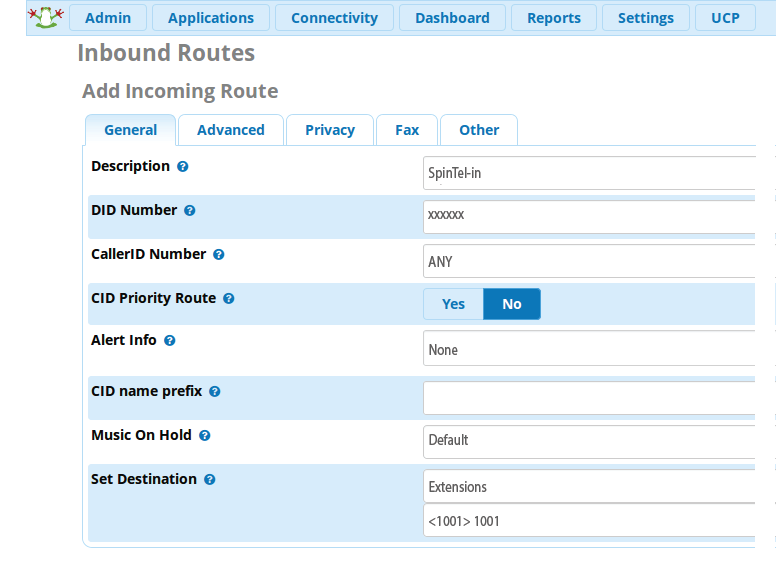
3. Go to "Connectivity" - "Inbound Routes" and create an inbound route.
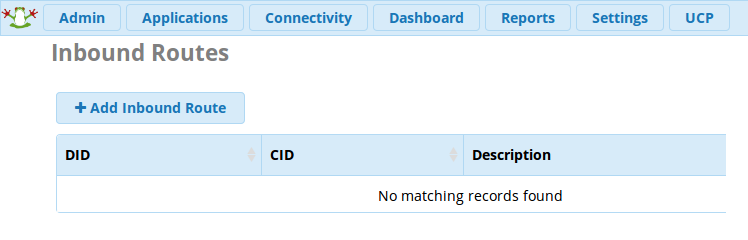
Description Spintel-in
DID Number: Your sip number (xxxxxx)
You can set where the call will be routed to in the "Set Destination" section (it can be routed to a PBX extension number, a call group, an IVR, etc.)
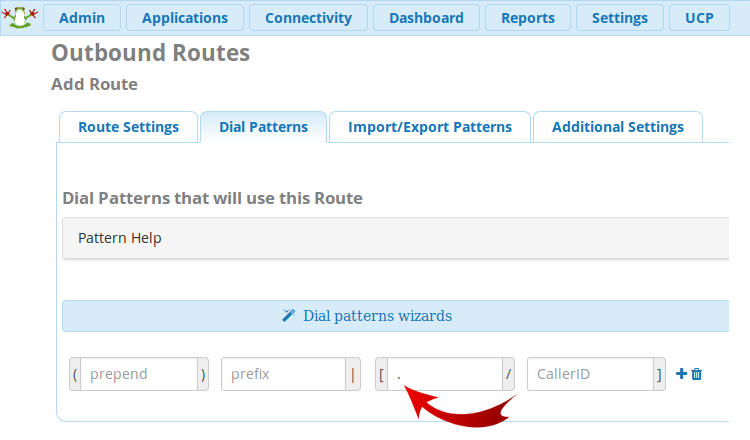
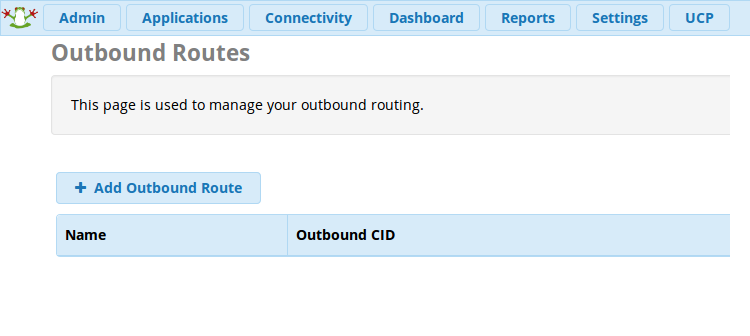
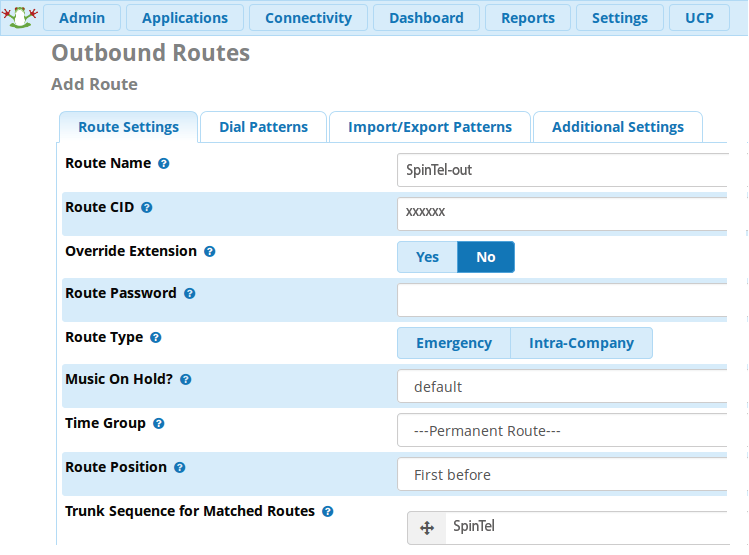
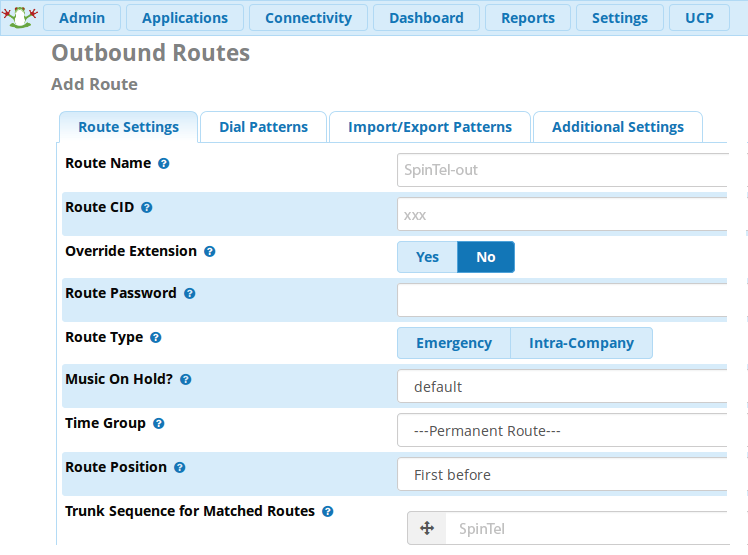
4. Go to "Connectivity" - "Outbound Routes" and create an outbound route Spintel-out.
Route Name Spintel-out
Route CID Your sip number (xxxxxx)
Trunk sequence for matched routes: Spintel
Go to "Dial Patterns that will use this Route", enter a full stop (.) in the blank space indicated as "match pattern". (As displayed by a red arrow in the screenshot below.) . If you skip this stage, you will not be able to make outgoing calls.